30 June 2010

Clay Jewelry


Howdy! So nice to see you today!

This week, I'm taking you on a shopping trip
in New York City.

I can spend many hours here to savor a snack
and browse through the shelves.

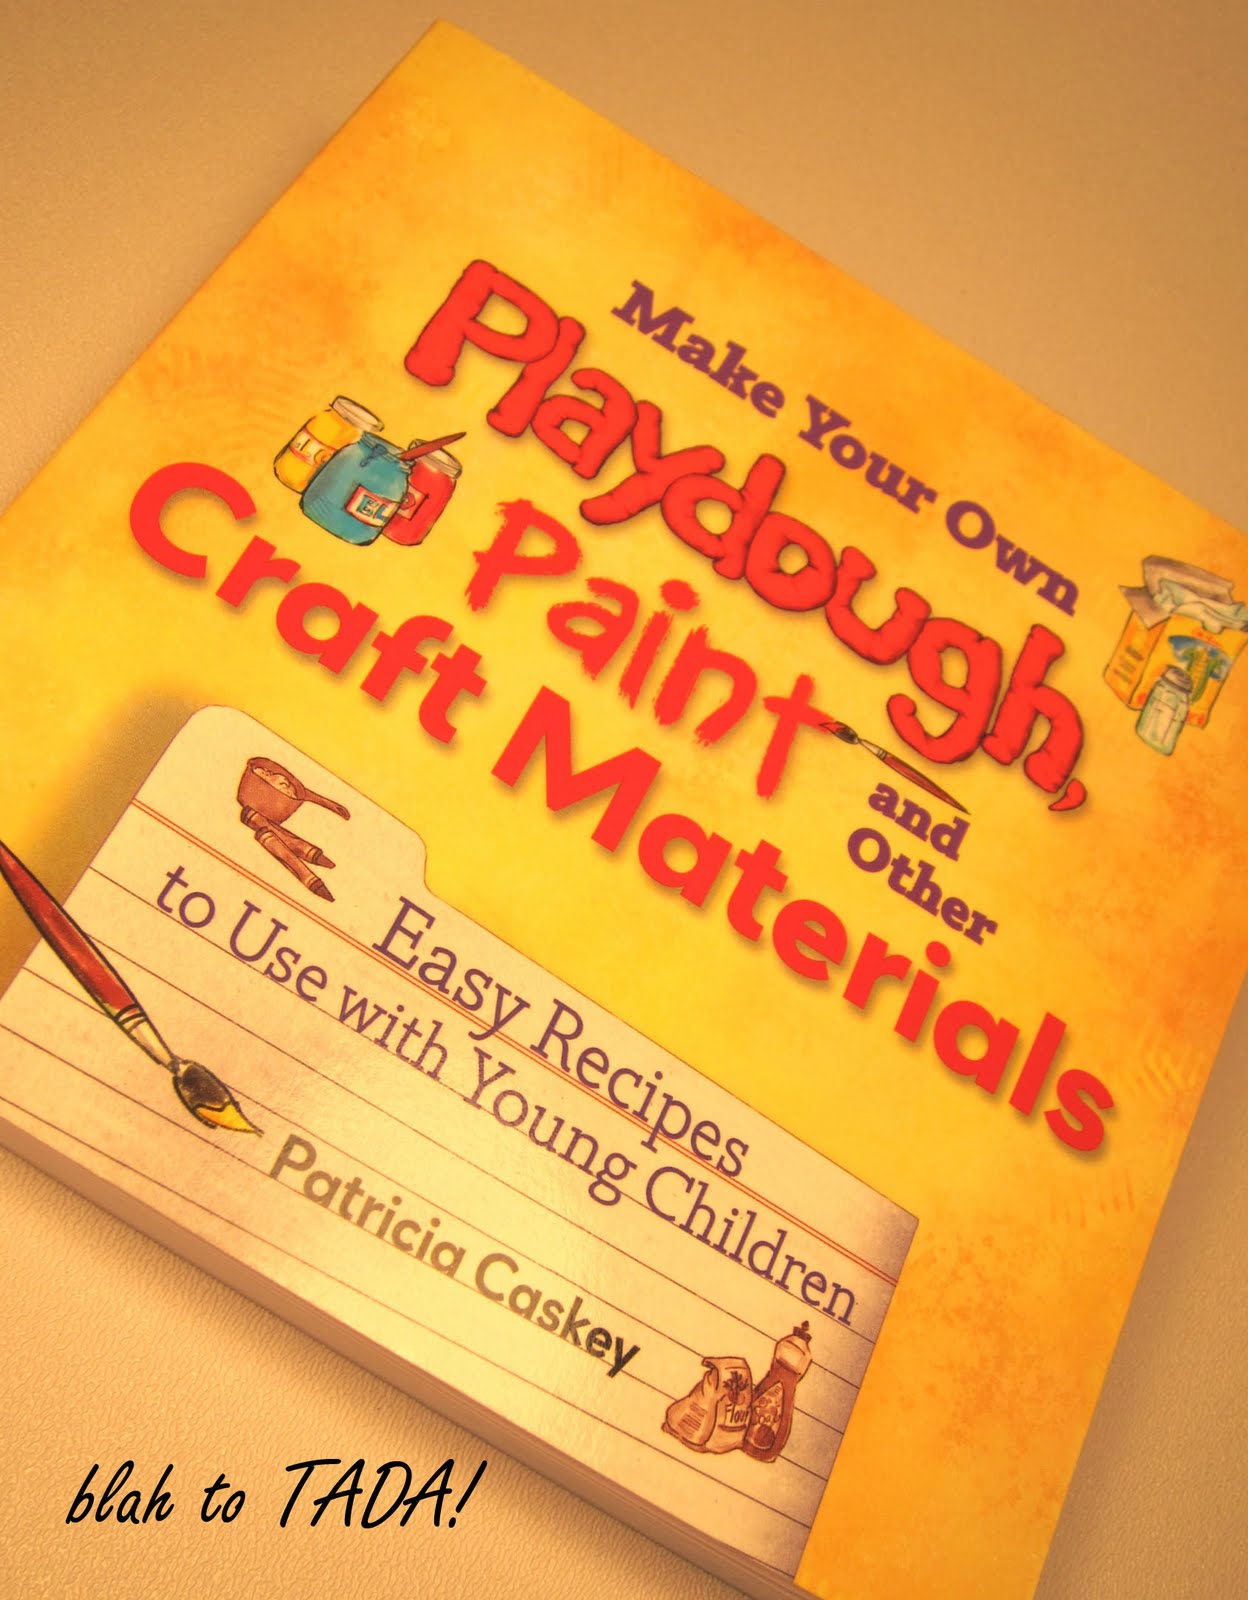
This is what I bought -- I'm trying out the crafts
with my blah to TADA! touch.

On Page 37, the author has a recipe
for clay jewelry.

Here's what we'll need:

3/4 cup flour
1/2 cup cornstarch
1/2 cup salt
1 tbsp warm water or as needed {I used 8 tablespoons}
liquid tempera paint & paint brush

Mix together the flour, cornstarch & salt.
Add water gradually until the mixture
forms a soft dough.

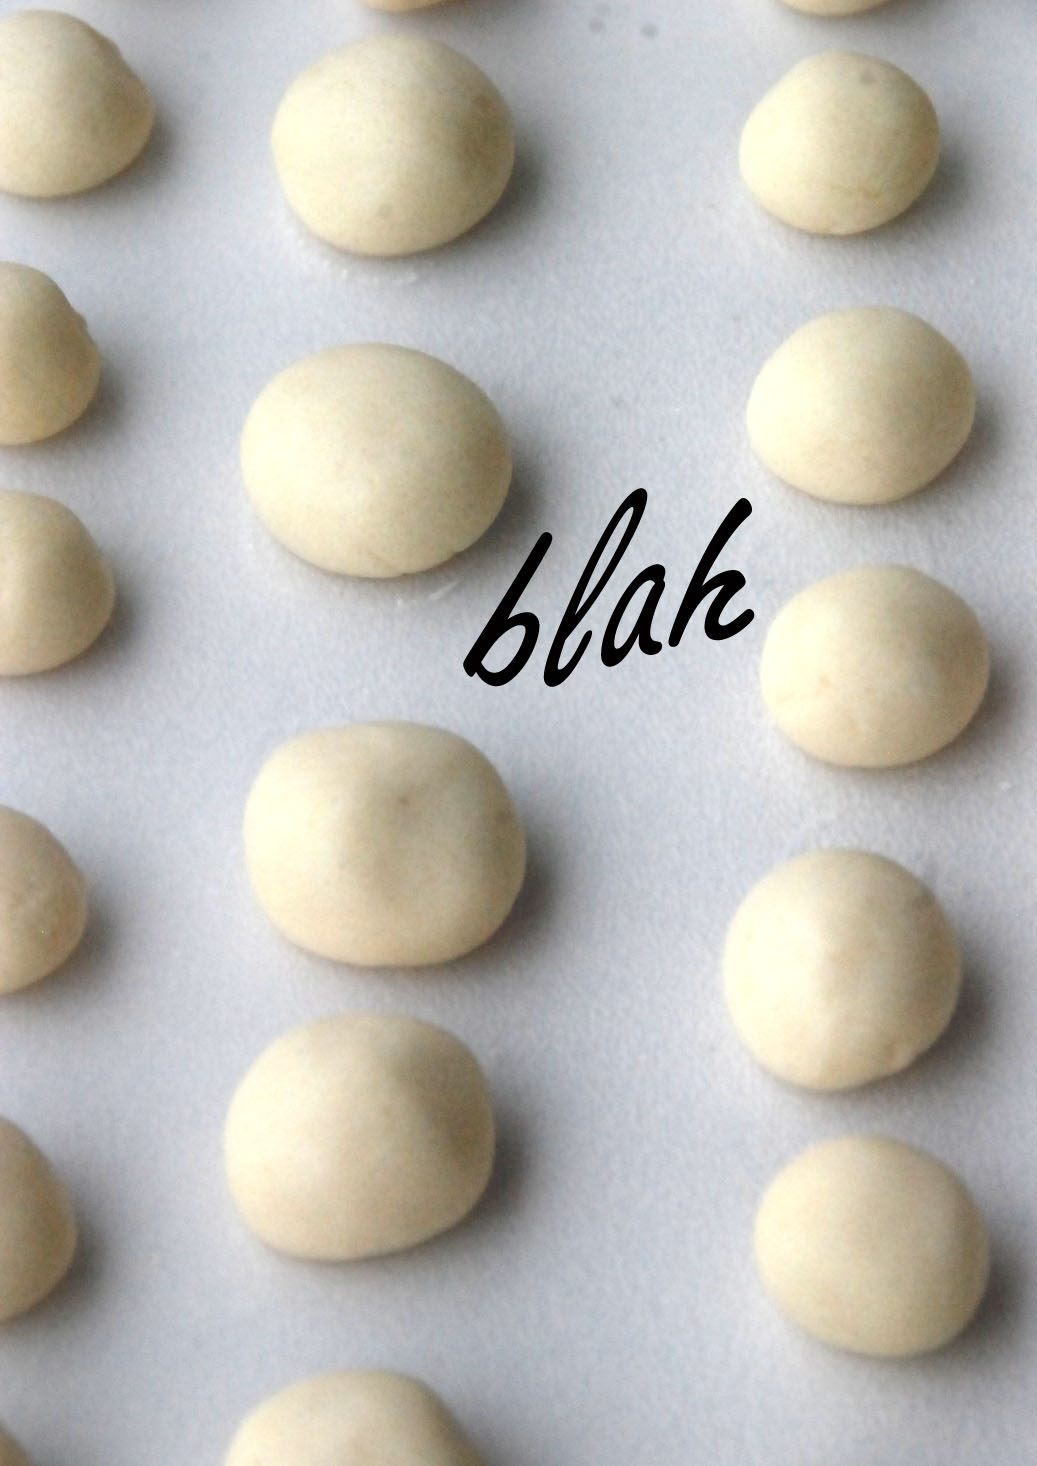
Roll the mixture into balls to make beads.

Allow the beads to dry for a few hours,
then poke a hole using a skewer.

Allow to dry.
The smaller the beads,
the faster the drying time.

{It took me about a week to get
the beads to fully dry & harden.}

Here's what they look like.

Now, it's time to paint!

To quickly get paint all over the bead, use this
trick of putting each bead on a skewer.

You'll need two to three coats of paint.
Make sure to paint the bottom hole too,
once the bead is removed from the skewer.

Let this dry for a few hours.

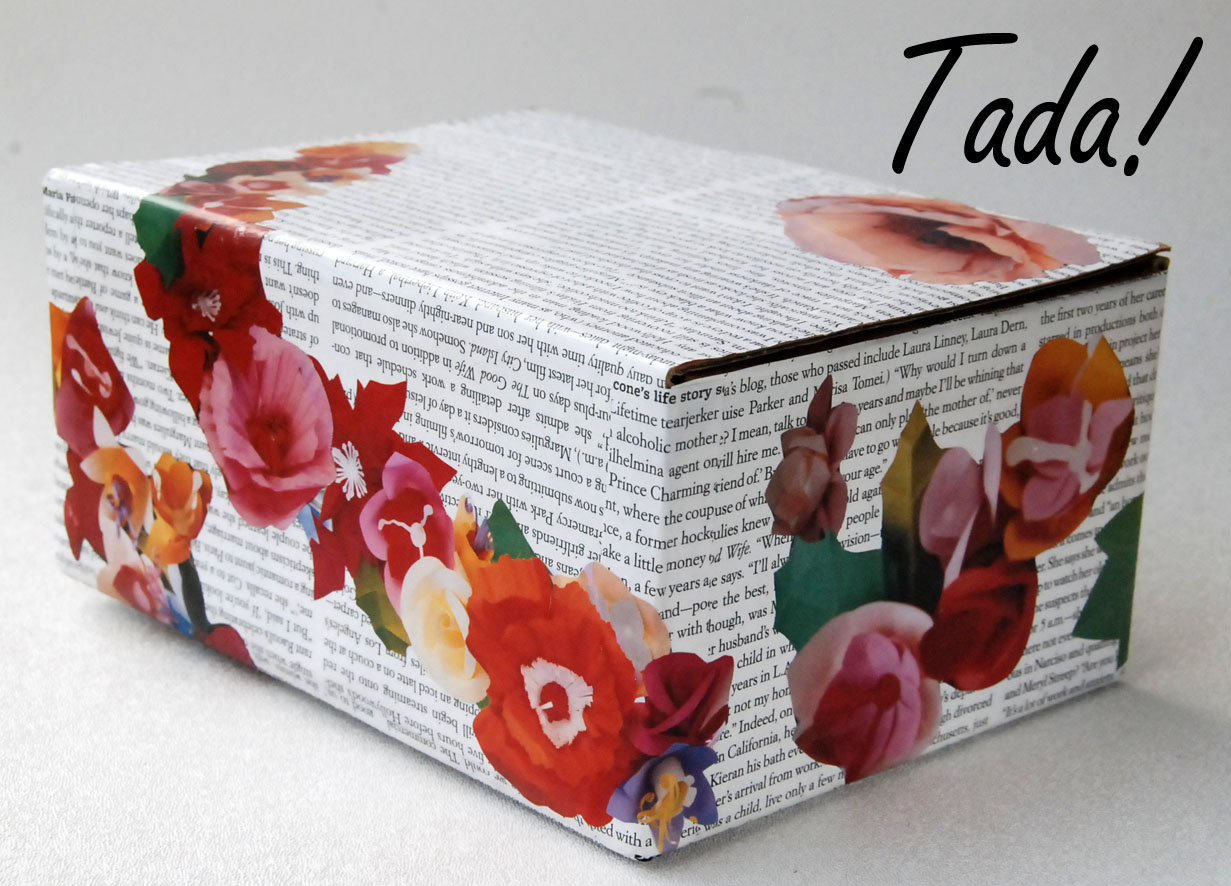
TADA! Your very own handmade beads!

String them on thread (regular or elastic).

And make your own jewelry like a necklace or bracelet!

This is a fun summer activity for kids
that they can proudly wear.

29 June 2010

Crazy Crayons


Hello there!

Yesterday, I told you about my shopping trip
in New York City.

Here's what I bought:

All this week, I'm featuring easy crafts
from the book with a blah to TADA! slant.

If you have children, this photo
might be familiar:

Blah, broken crayons.

The first thing we need to do is peel off all the paper.

Let's make them like brand new, shall we?

Put the broken crayons in a nonstick oven mold.
I didn't have one so I used these foil cups (which
I will keep reusing for future crayon-melting).
You can put same colors together or mix
different colors in one cup.

Put the mold in a 250 degree oven...

And wait until the crayons have melted (about 5-10 minutes).
Turn off the oven and when the oven is completely cool,
remove the mold.

I tried this other option by carefully pouring the
melted crayons into this Ikea ice cube tray.

It's not oven-proof but can hold the heat of melted crayons.

Please make sure the mold you use will be strictly relegated
to crafts & never for food items or ice cubes.

Allow to cool & harden.

TADA! The crayons easily pop out.

I layered the colors to make crazy crayons.

Warn your children that these should not be eaten.

See you tomorrow!

28 June 2010

Let's Go Shopping: Housing Works Bookstore


It's a brand new week & June is coming to an end.
Sigh, time really flies so quickly.

Anyway, this week on blah to TADA!,
we're going shopping!

I'm taking you to one of my favorite bookstores,
Housing Works, in New York City's SOHO district.

Here's what's so TADA! about it -- all the books
are donated, the staff consists of volunteers &
all the proceeds go to folks affected by AIDS.
Isn't that great?

There's also a cafe' inside with quiet corners
to enjoy your book & coffee.

The space can also be rented for special events.
I've seen the place used in TV commercials &
shows like Gossip Girl!

These gently-used books are neatly arranged by
category (ex. fiction, travel, children's, etc.)

Here's the section that I'm always drawn to:
sewing & crafts.

And here's what I bought:

It's a fun little book by Patricia Caskey.
I paid only $4.00 for it!

When I got home, I quickly flipped through the pages
and picked crafts that were faithful to my
blah to TADA! philosophy.

Like the one on page 79, teaching readers
how to make COLLAGE GLUE.

It's a good alternative to Mod Podge.

To make it, you will need:
3 parts white school glue
1 part warm water

Combine the glue with water in
a jar with a screw-on lid.
Shake until well mixed.
Brush a thin layer on paper
and smooth out.

Here's my application:

I need to mail a gift & decided to recycle this box.

I used old magazine pages to turn a blah box...

...into a TADA! box!

I treated the printed page like gift wrap and the
cut out flowers as accents, using the collage glue
to stick & seal everything to the box.

Here's what the back looks like.

All I need now is to add a mailing label at the
top of the box and mail.

I'll tell you what's inside in a future post!

25 June 2010

Headband Stash


Hooray it's Friday!

This week, I took you to the Renegade Craft Fair
to get some ideas on how to display crafts for sale.

Check out this booth selling handmade headbands.
It's similar to the earrings organizer I made
a few weeks ago.

Today, let's make our own headband rack.

Blah: An empty oatmeal container.

Add an empty toilet paper roll that's cut to size
{We'll use them as feet for our rack.}

Cover all the parts in a neutral-colored felt or fabric.
Attach the "feet" securely with hot glue.

TADA!: Instant headband rack!

It will work for kiddie...

And adult headbands, whether they are for sale
or just your personal collection.

Have a happy weekend!


24 June 2010

Tray Magnifique!


Thanks for stopping by today!

I was at the Renegade Craft Fair in Brooklyn and got so inspired
with crafting and maybe making a business out
of crafting someday.

For you who have taken the leap from hobby to business,
I've showed you some ideas on how to display
your handmade jewelry using very simple materials.
I've got a few more!

Here's a good peg -- use vintage jewel boxes,
drawers & cigar boxes. Make sure to have
a mirror handy for those who want to
try before they buy.

You can also use plates, bowls and platters
to organize your wares.

Here's another easy DIY idea:

Blah: A shoe box lid.

Wrap it in fabric or if it's as colorful as this one...

Just flip it over!

Add a layer of felt.
Use all black to give shoppers the feeling of being at the
poshest jeweler or go crazy with the wild colors.

Then add small to medium-sized accessories on your inventory.

Use it for vintage pins.

Or these retro rings.

You may also use this display box for buttons, hair pieces
hand stamps or stationery.


23 June 2010

An Array of Earrings


Happy Wednesday Everyone!

Inspired by a trip to the Renegade Craft Fair in Brooklyn,
I've come up with some blah to TADA! ideas for you
crafters out there who are selling your creations.

Today, I'll show you how to display the earrings that
you're putting on sale.
If you don't have a stand like this one, let me show you how to
make something like this.

Blah: Stacks of old cardboard.

Cut, paint and decorate.

TADA! Just add the earrings!

Make a slit or punch some holes to attach the earrings.

The little frames highlight the beauty of each piece.

Use the space below to showcase more
jewelry like rings.

Please stop by tomorrow for another idea!